

My Bedroom Renovation
There's nothing like a gloomy January for wanting to curl up with a book and a fire and ignore the world for a month or so. Not for me, I do this over Christmas, January always feels like the need to make a fresh start, to change things up a little and to get organised.
I nearly always get more holiday early January as I have to take it or lose it (I never seem to manage to balance it through the year, my diary often getting booked up months in advance), so it is the ideal time for me to take on a project.
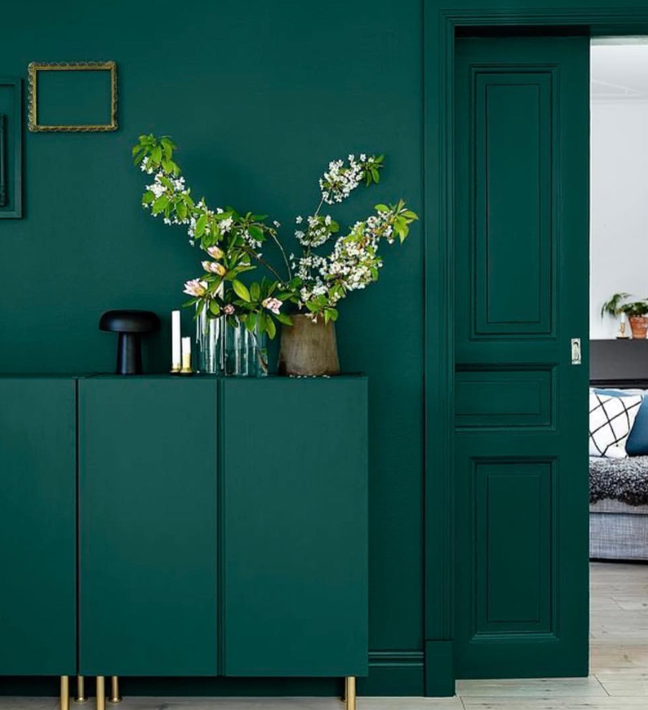
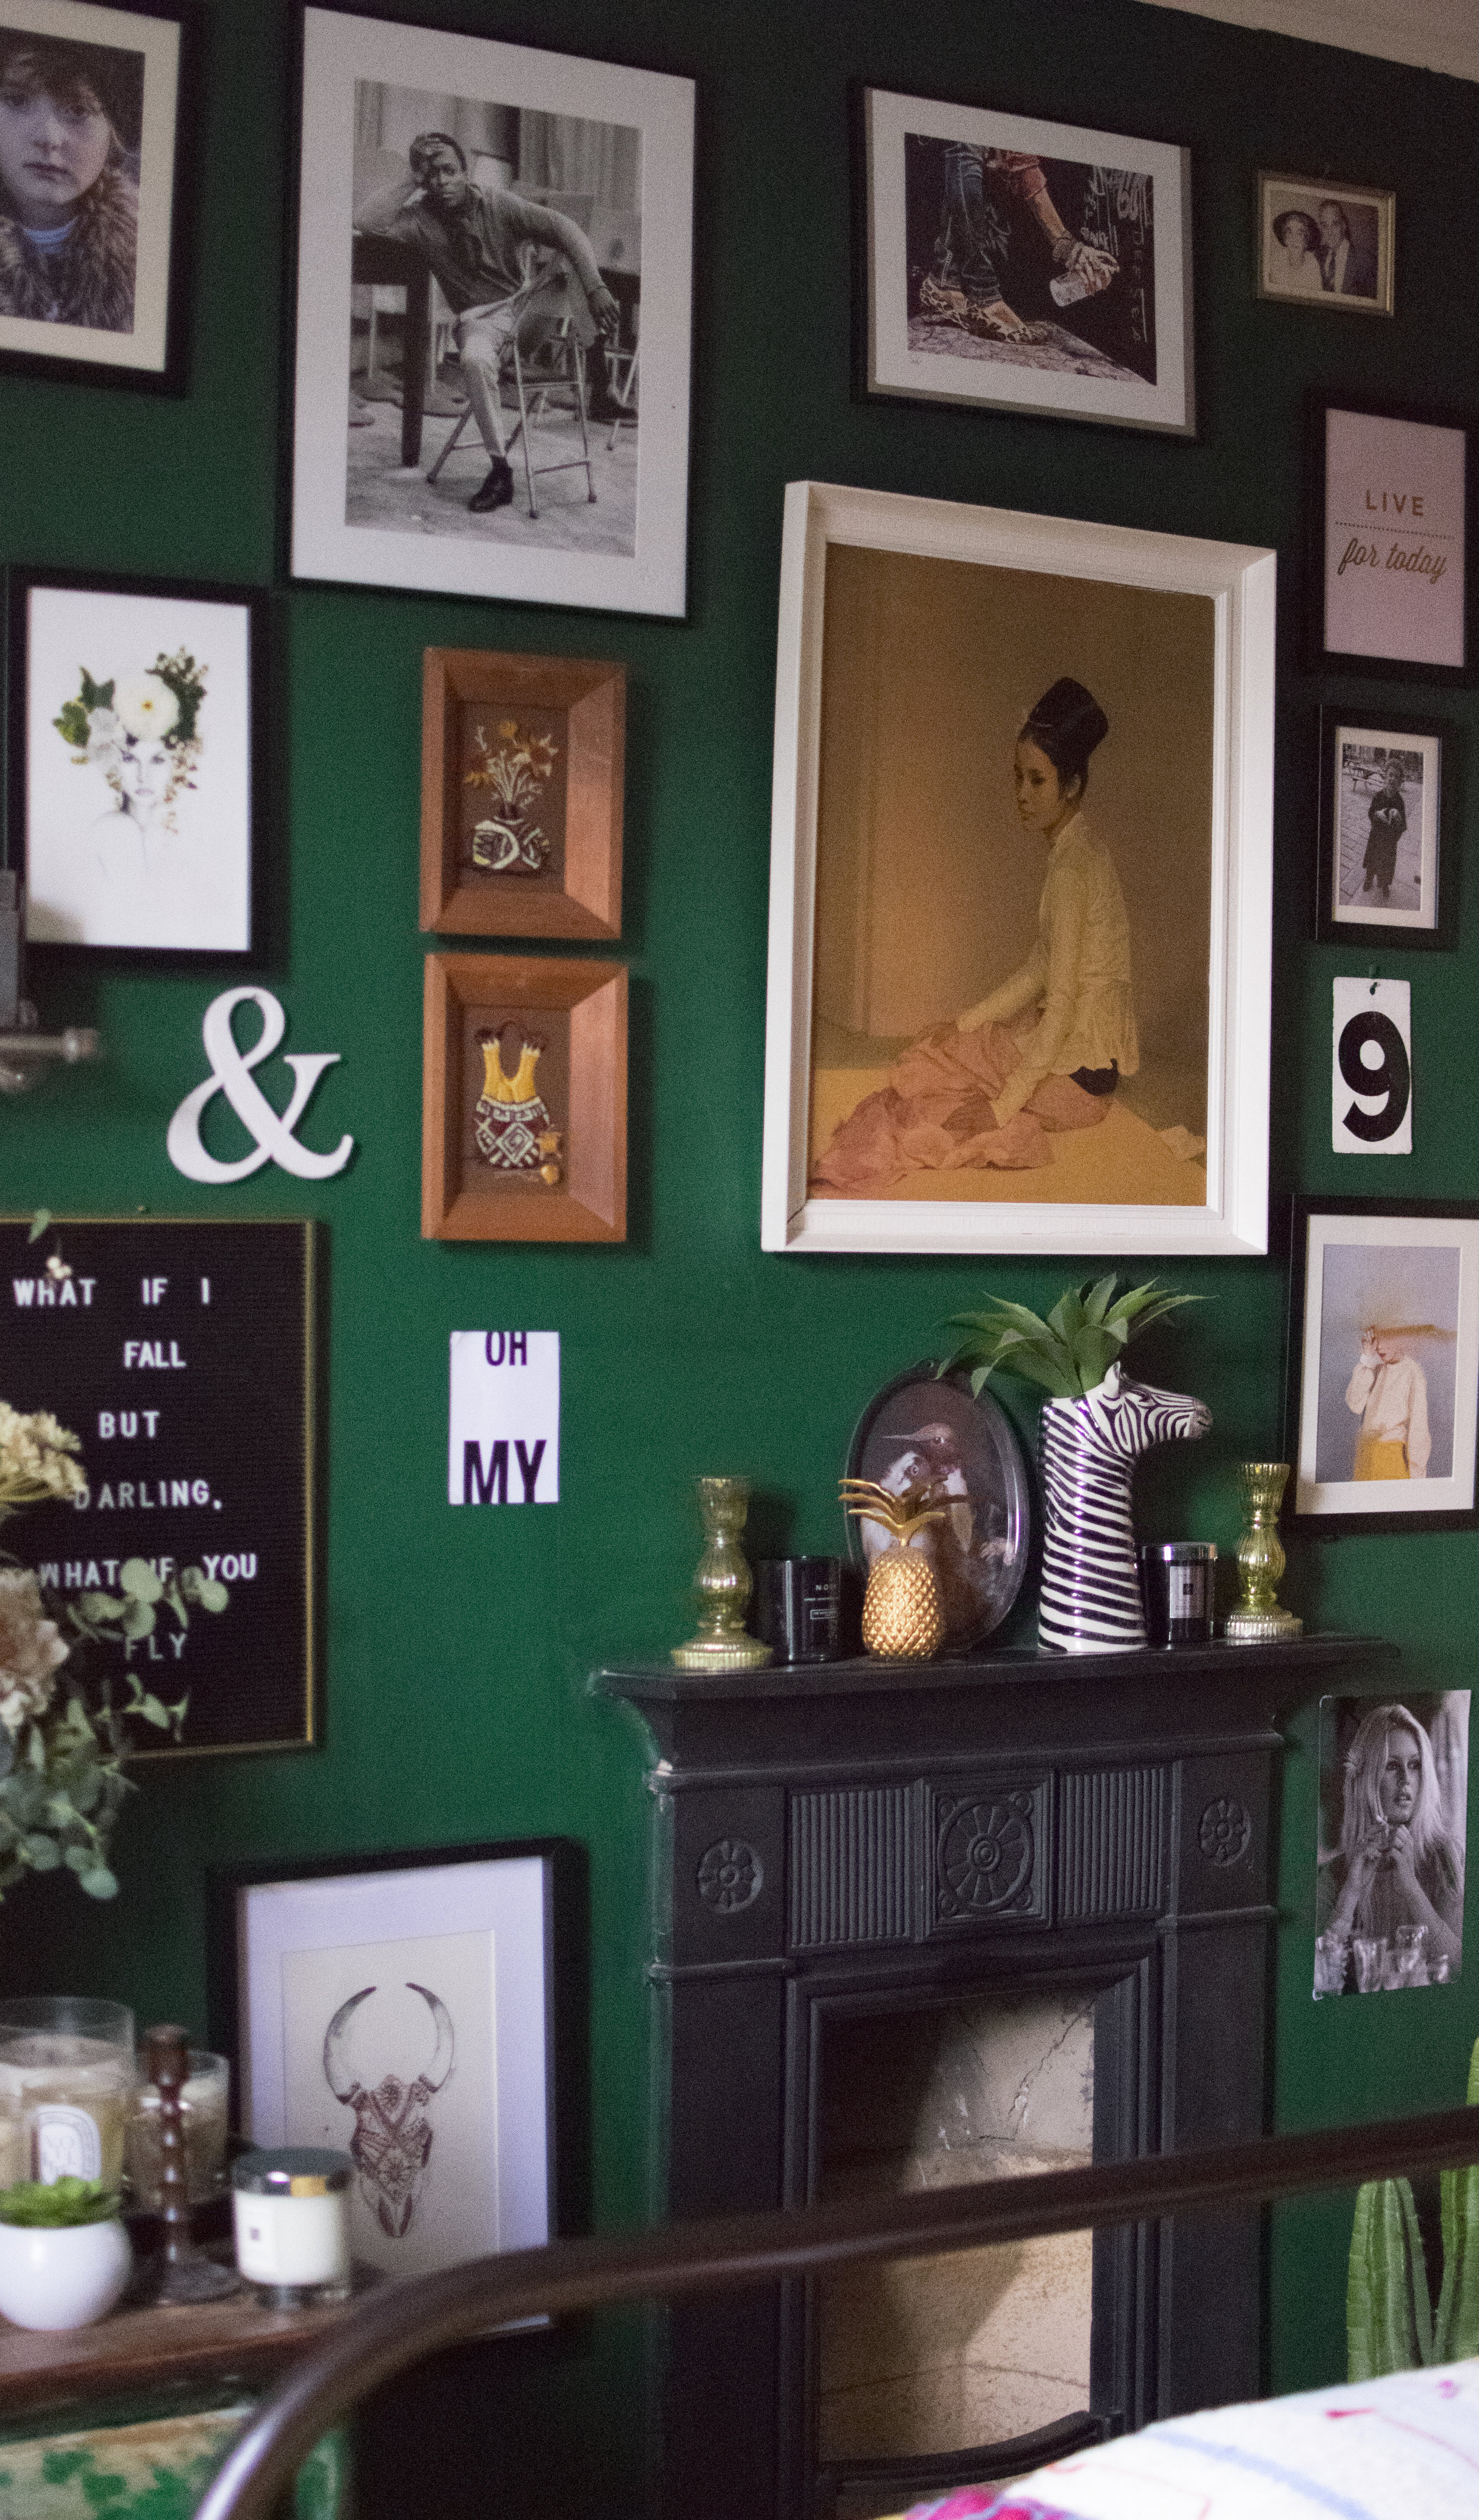
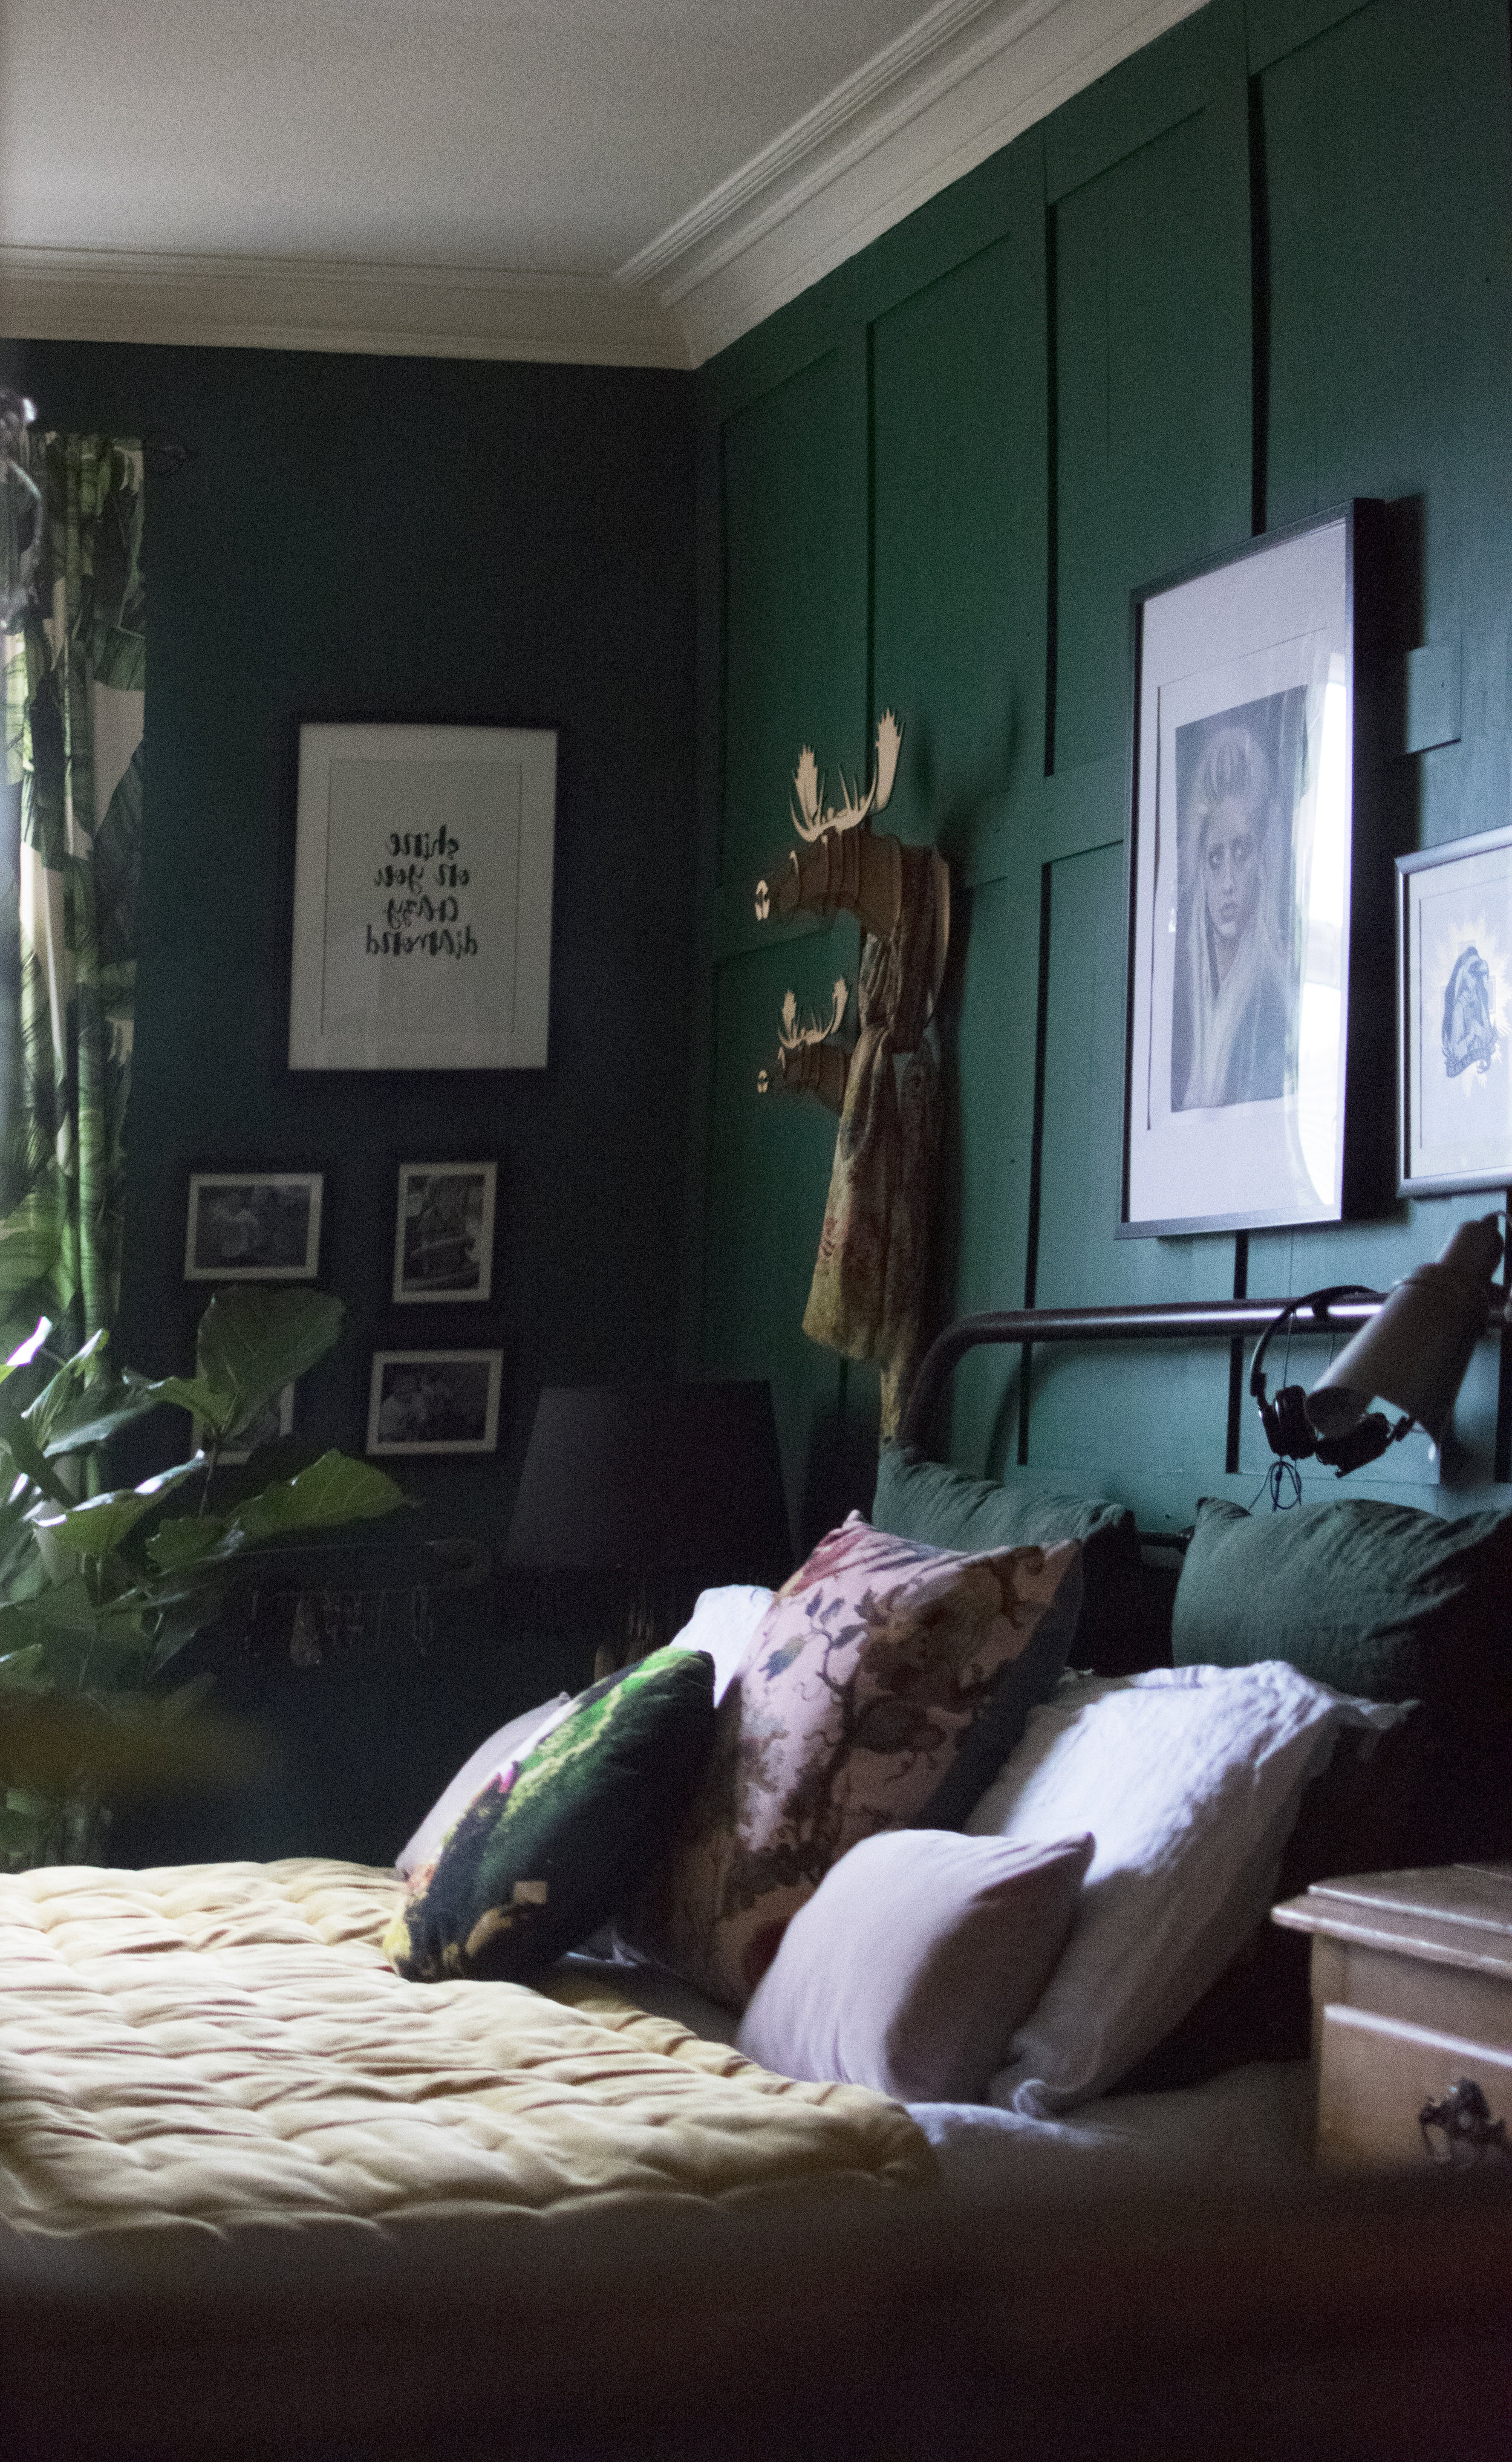
The Christmas Decorations had come down, the house felt less cluttered and this year I wanted to switch up our master bedroom. It's not that it wasn't a lovely room before, but the black paint was looking tired, scuffed and I'd seen a recent blog post by Pati Robins of Style Squeeze about panelling a room. One of my favourite homes on Instagram from Katie Woods (you can see her home here) has loads of panelling, both original and faux and I was itching to create a similar look.
I was also looking to add colour, having gone through a phase of going for dark, neutral walls; black, grey, navy, I wanted to inject some different colour into my home, having learnt over the years that I will never been a neutral kind of girl and inspired by photos from Pinterest of deep blue greens I knew this was a colour I wanted to try, but could I find it?
Source vintageindustrialsyle.com.
27 tester pots later I did, Deep Sea Green by Valspar, which you can see below.
Armed with Pati's blog post and the colour I wanted to use, I set aside a few days in January, just after the kids went back to school to decorate the room, to learn a new DIY skill and to create a dream bedroom.

The first task was to paint the room, which at circa 3m by 4m by 5m was always going to take me a couple of days, it was then time to tackle the panelling.
To do the panelling I followed Pati's blog postbut I will also explain it here.
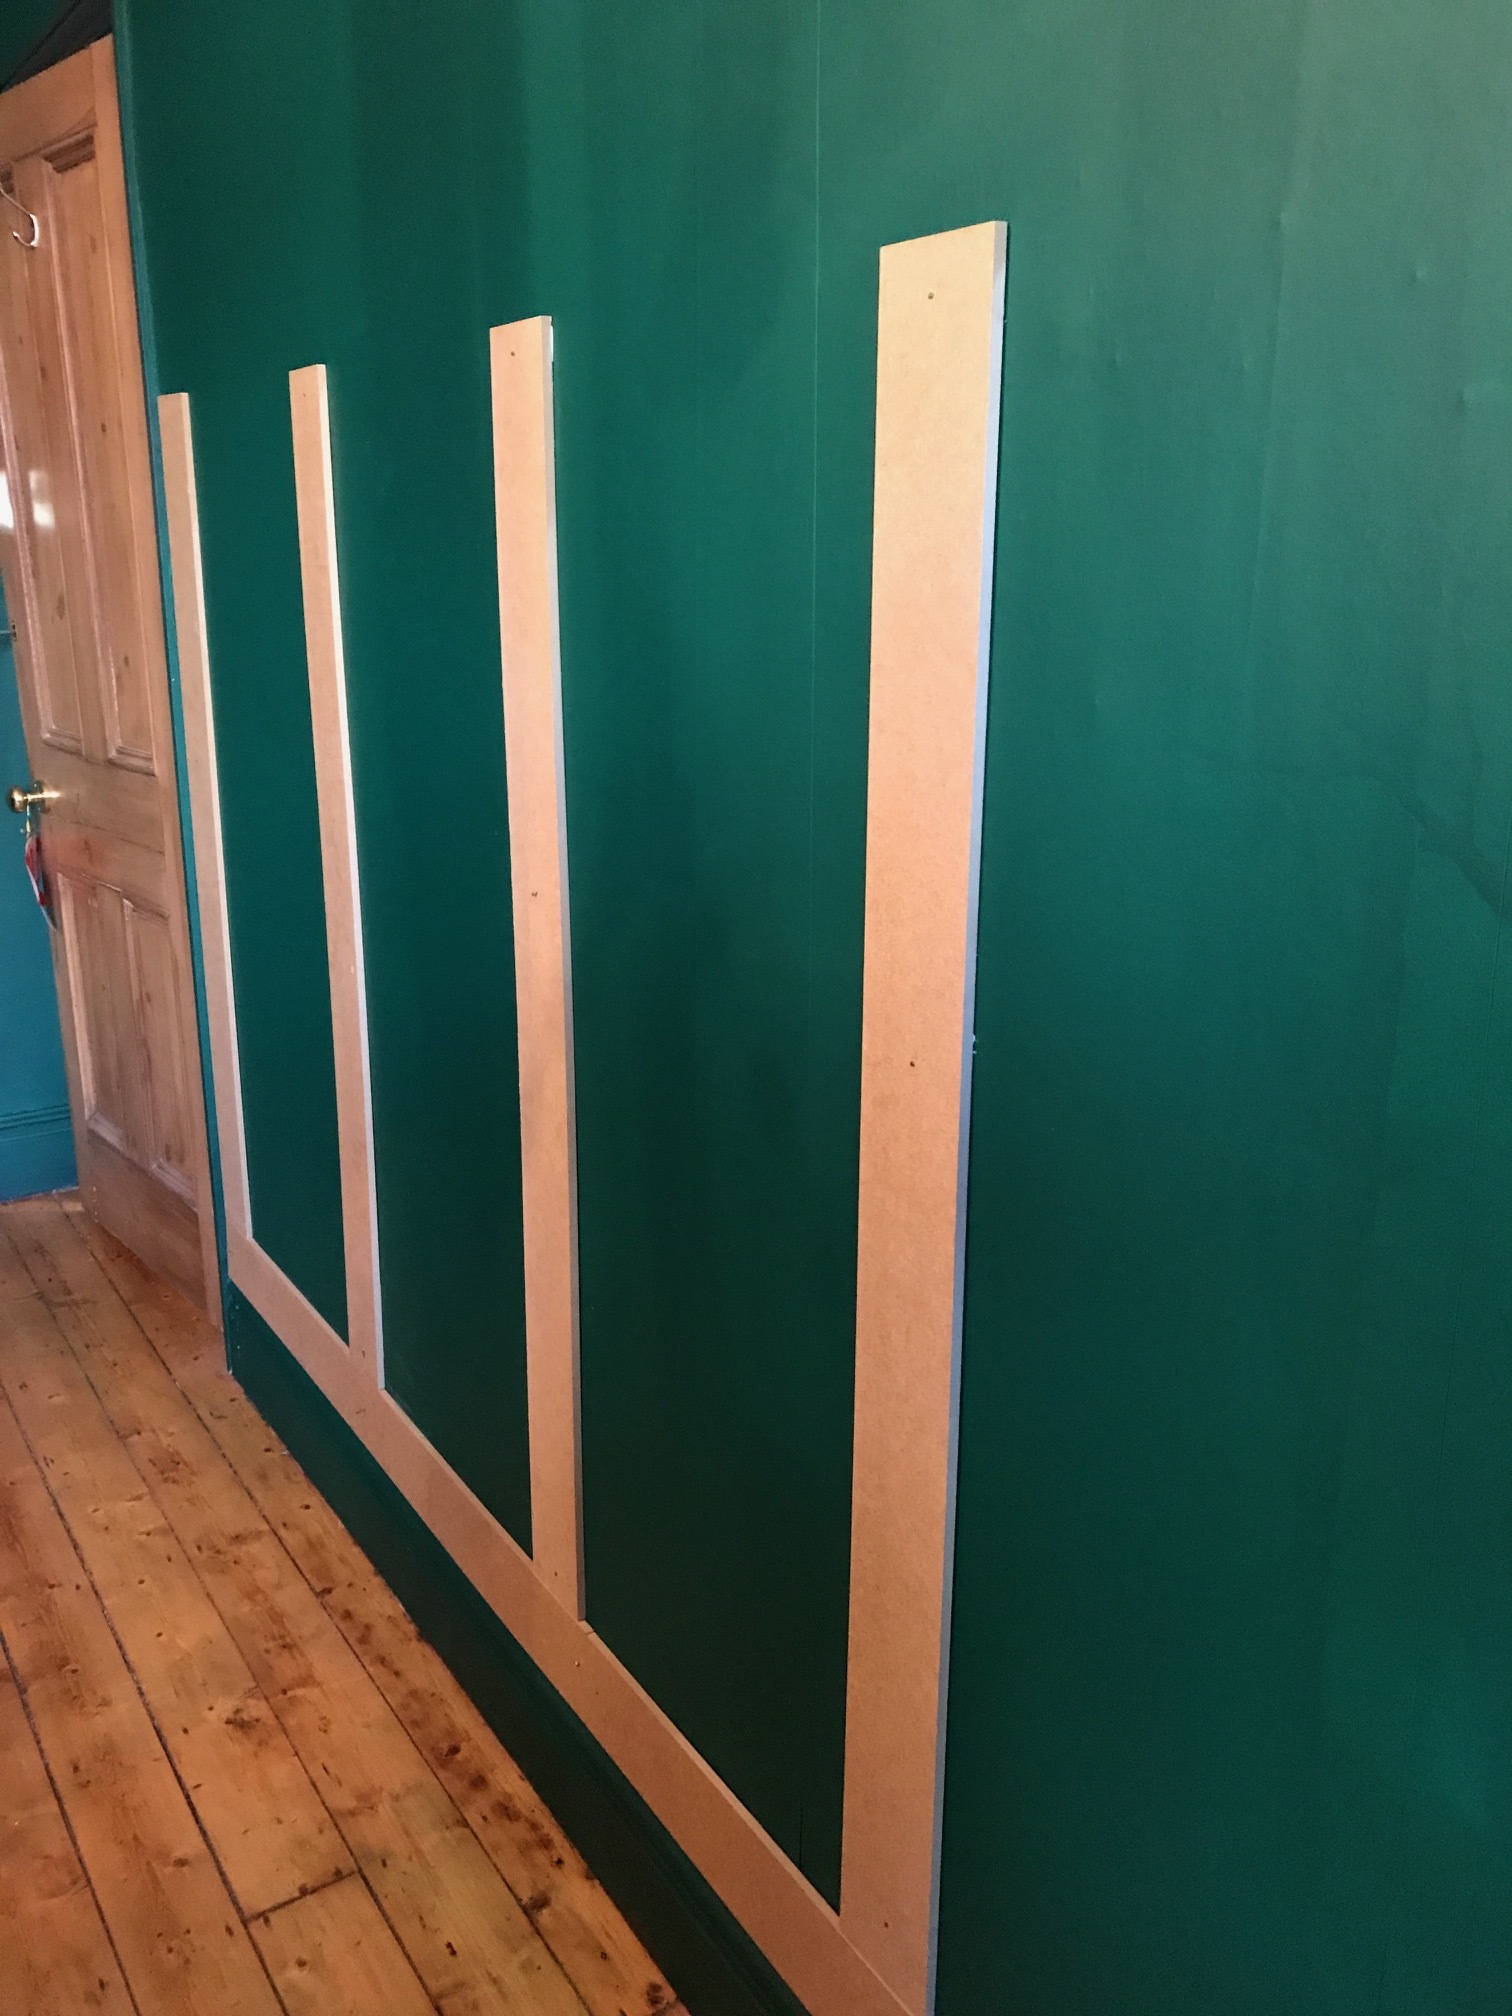
I chose to use MDF Boards, 9mm deep and which came in pieces of 660mm by 1220mm. I sourced mine from B&Q because I knew they also offered a cutting service to cut the boards to size.
I wanted my panelling to be 10cm (100mm) wide so I knew I'd get 6 (660/100) pieces out of each MDF Board.
I then needed to work out how many strips (boards) I would need. To do this you need to measure the length and height of your walls. My walls are 4m long and 2.5 m high from the skirting board to the coving. With a 10cm/100mm strip running along the bottom I was going to need two strips of 1.2m high to reach the top (2.5-10=2.4 divided by 1.2). I decided to have 8 vertical strips (16 pieces if you count the doubling to reach the height) and I then needed to work out how many strips I needed to go between the verticals.
To do this you take 4m and take away 80 (8 panels at 10cm/100mm wide) which left 3.2 mtrs. I have 7 spaces so the gaps between each vertical are 45.7cm or 457mm (3.2 divided by 7). I wanted to have two horizontal widths plus the top piece so three in total, plus a piece running right along the bottom. Therefore, I needed 4m for the piece running along the bottom divided by 1.2 (the length of the MDF board) which is 3.3 strips plus 21 (7 (number of gaps) times 3 horizontal panels) pieces. I was only going to get 2 horizontal pieces out of each strip 1200/457 with wastage so I needed 11 strips.
In total, I needed 16 pieces to do the verticals, 11 pieces to do the horizontals and 4 pieces to do the bottom strips, a total of 31 pieces of MDF Board at 100mm wide and 1220 high. As I could get 6 strips per board I needed 6 boards to make this panelled wall, which gave me a few spares in case I made a mistake. At £9 per board this entire panelled wall cost just £54 in MDF. A real bargain if you want to do it yourself.
And then I had to face the horror in the B&Q man's face when I rocked up and asked him to cut me 31 strips of MDF. At first, he told me he couldn't do it, it was too much but he must have felt sorry for me as he relented and I got my 31 strips.
I also picked up panel pins and wood adhesive, the adhesive will hold the panels to the wall but you will need the panel pins while it dries.
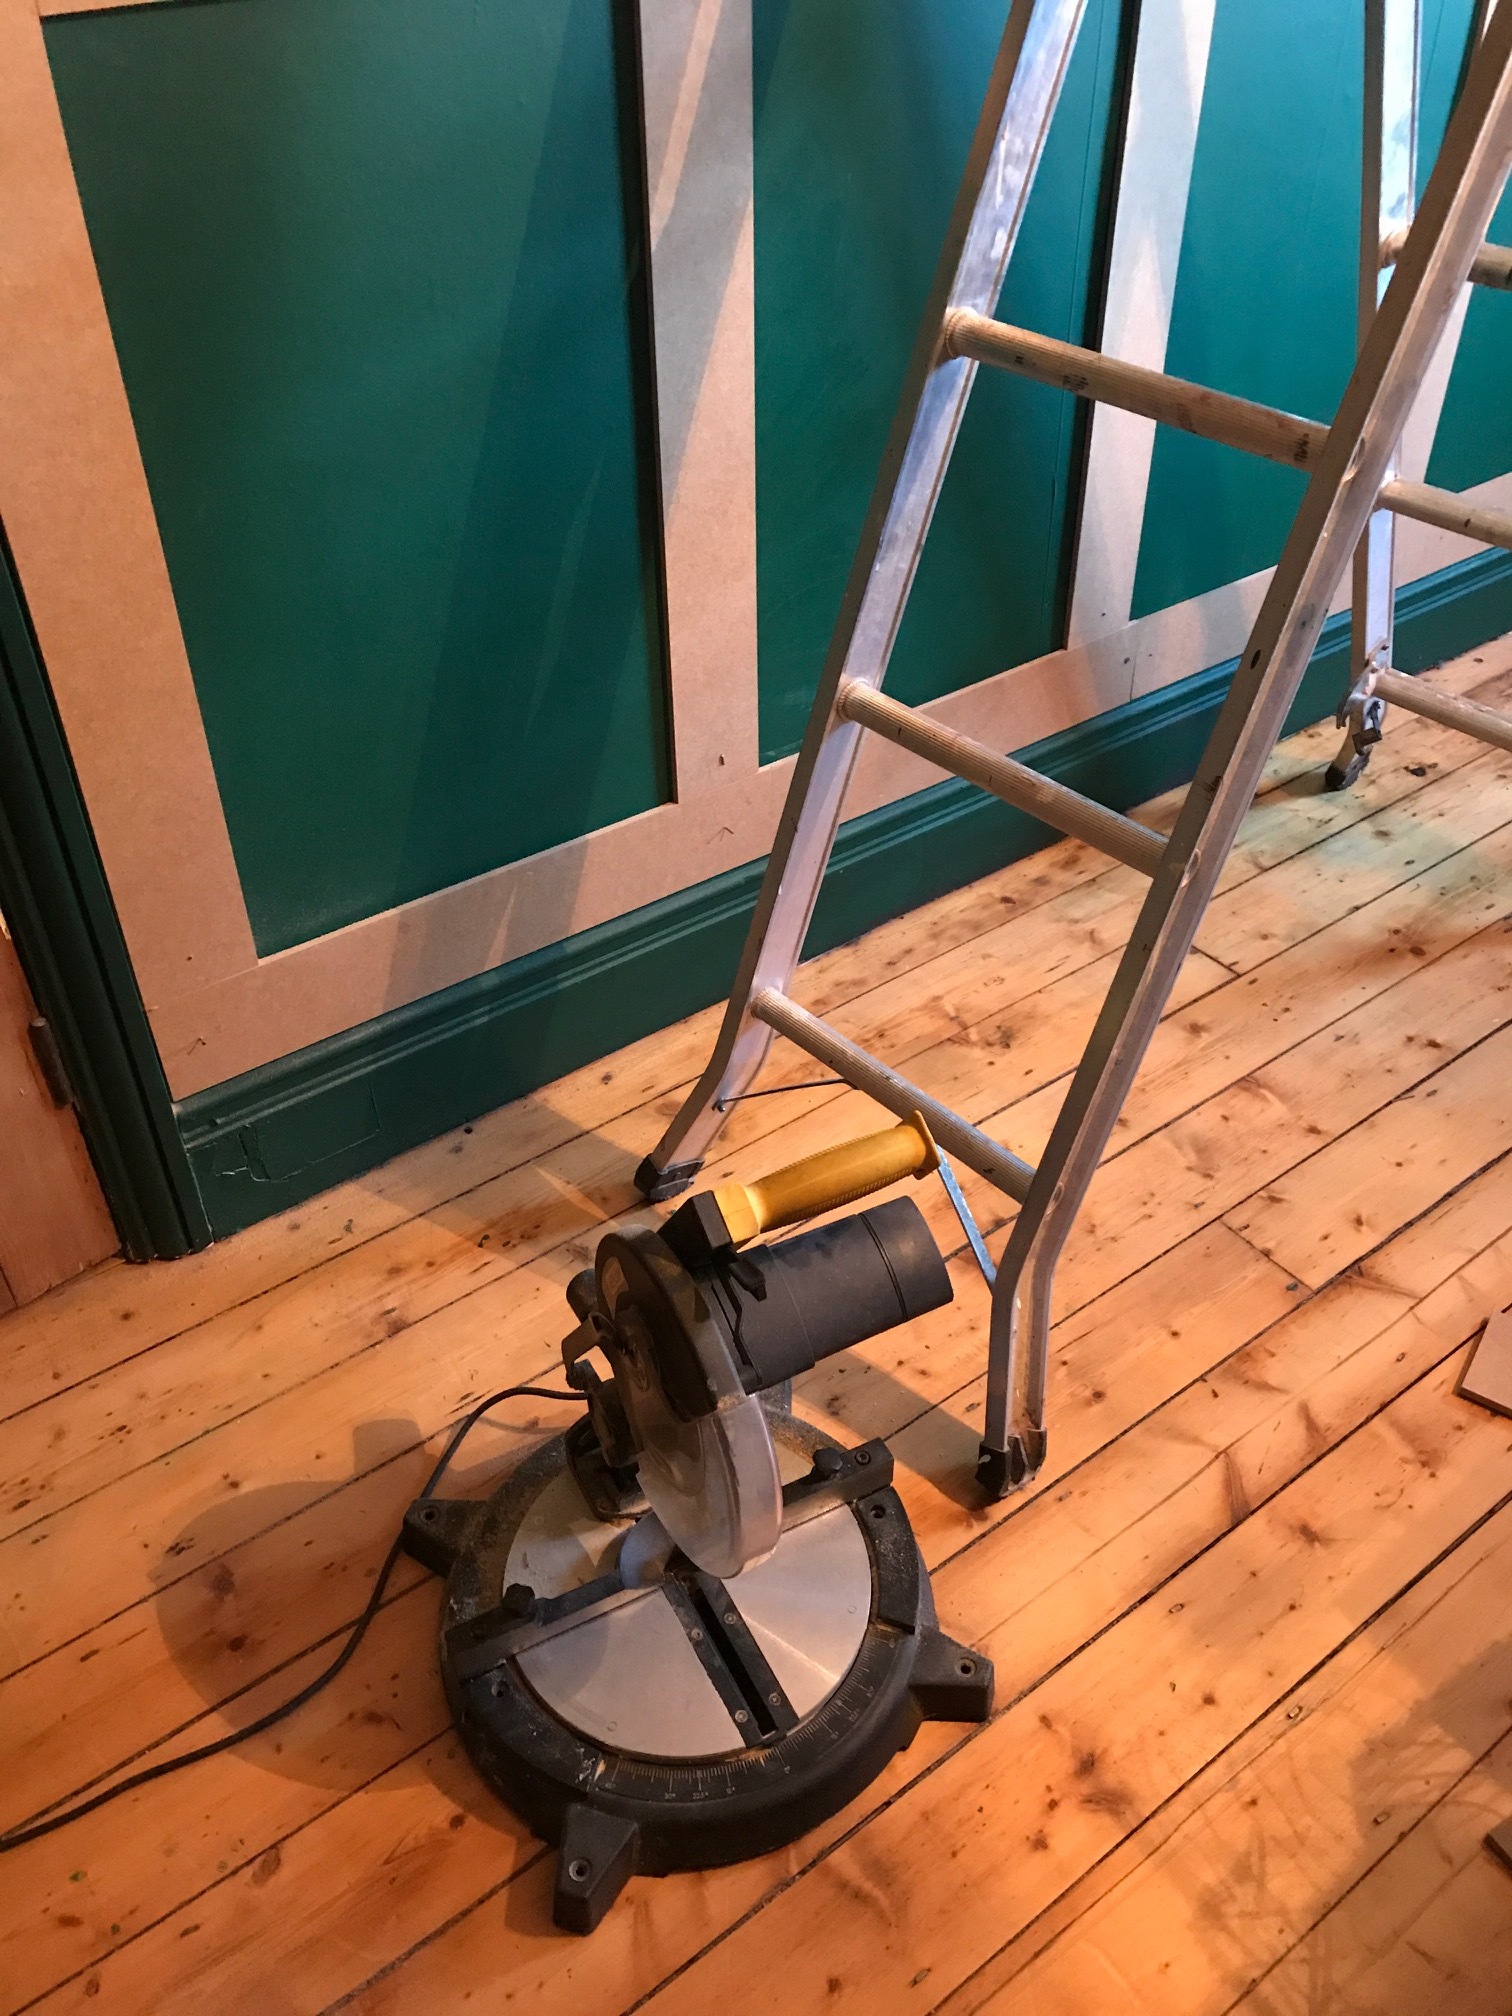

It was then time for the fun part, panelling the wall. With the sound of my husband's warning about not losing my fingers. I set about hammering and sawing pieces on to the wall, as you can see above. The circular saw was a little scary but I soon got the hang of it and the wall was completed in an afternoon, no time at all. To fix the panels to the wall you need to apply adhesive to one side of the board, stick it to the wall, checking with a spirit level that it is straight, and then hammer in some panel pins to secure, while the adhesive dries.

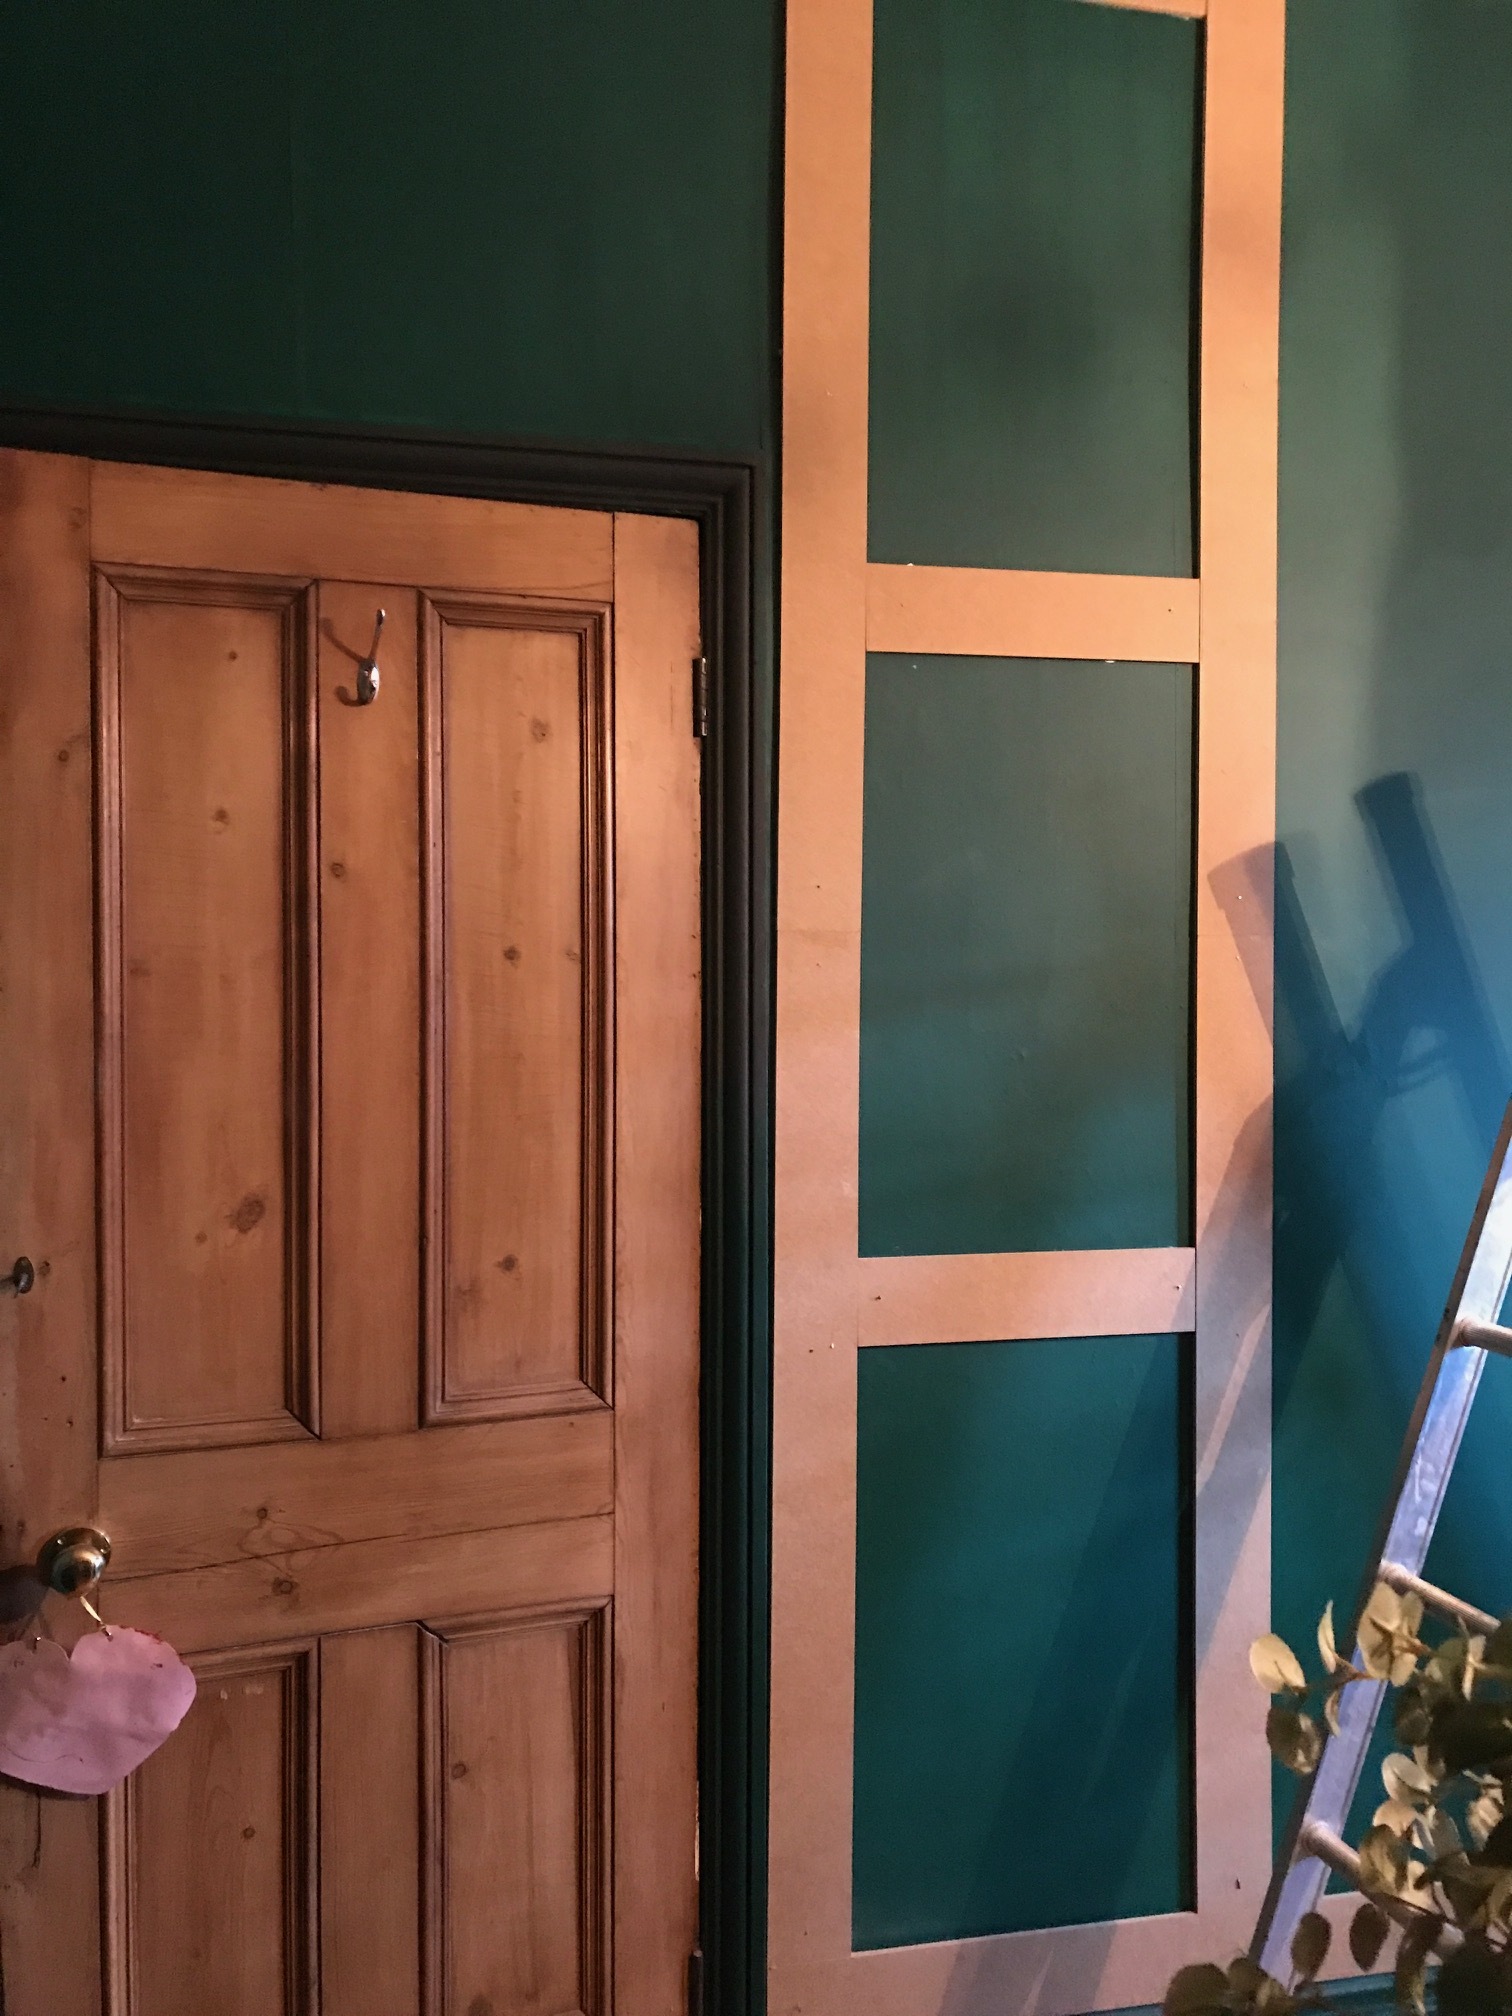
Now those of you living in an old house will know, walls are not straight, in fact this wall curves and so for pieces nearer the door I had to leave in the panel pins as some of the strips did not quite touch the walls, in parts. At one end of the room the verticals fit perfectly, at the other end I had to trim the second piece by 10cm?! But it was fun to learn something new, and I now know I can panel a room, I suspect there will be more to come in due course.
Because my Valspar paint had primer already in it, I did not prime the MDF, I just painted it directly with the same paint I had for my walls. I suppose if you were doing this properly, or if you had longer than I to do the decorating, you'd properly prime the wood first, but I found this worked fine. The MDF did require several coats though, to give it a lovely rich colour.
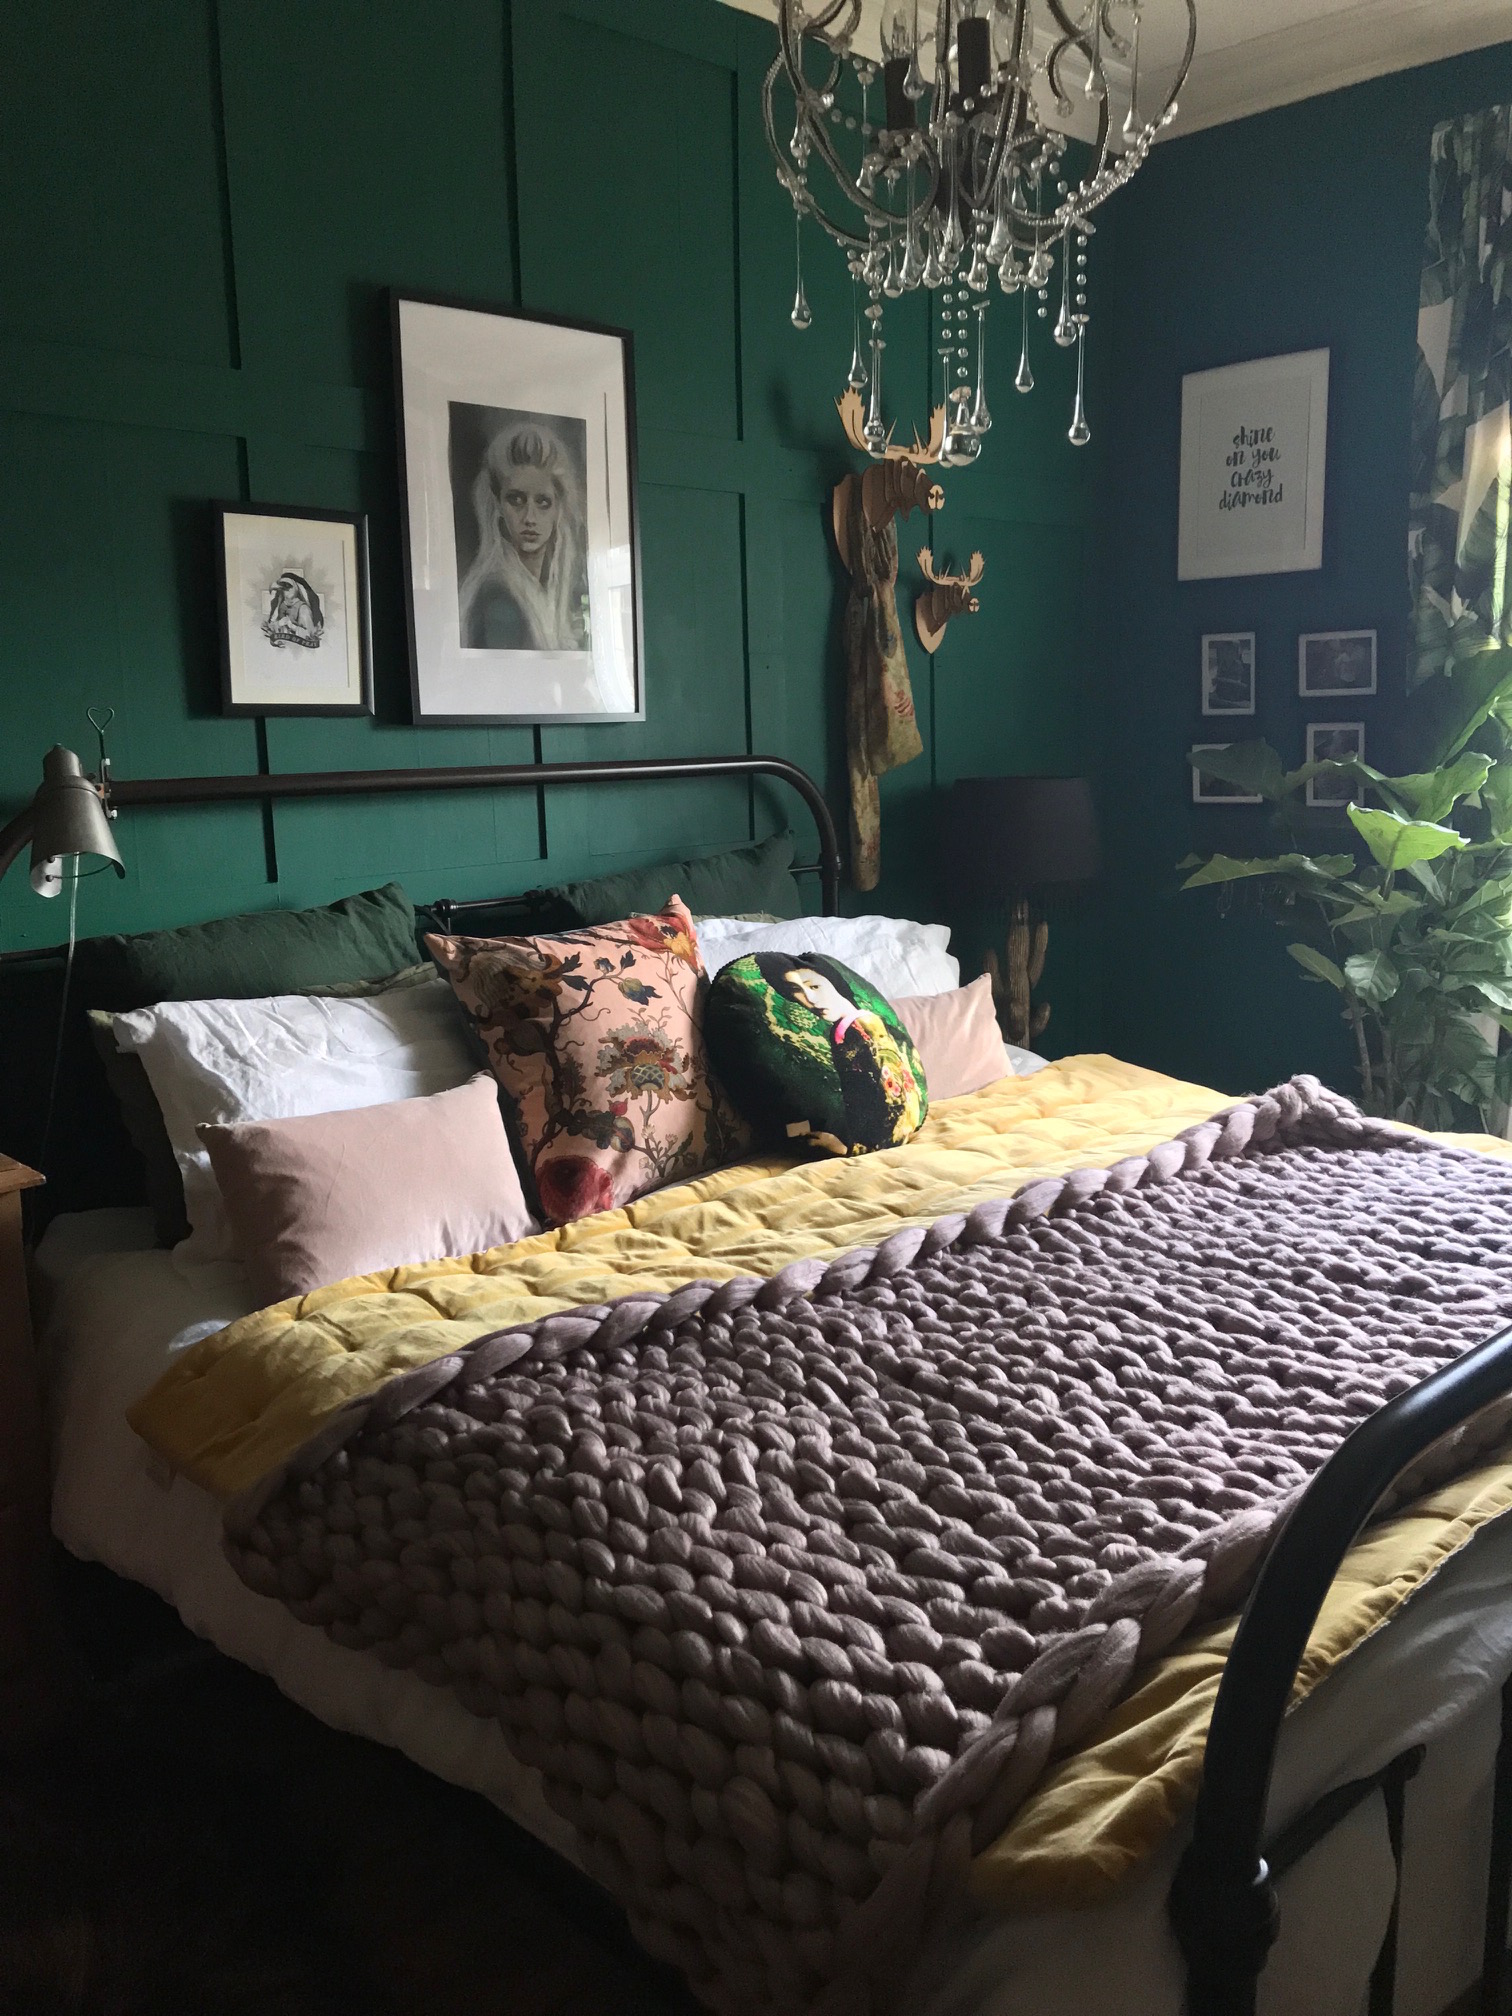
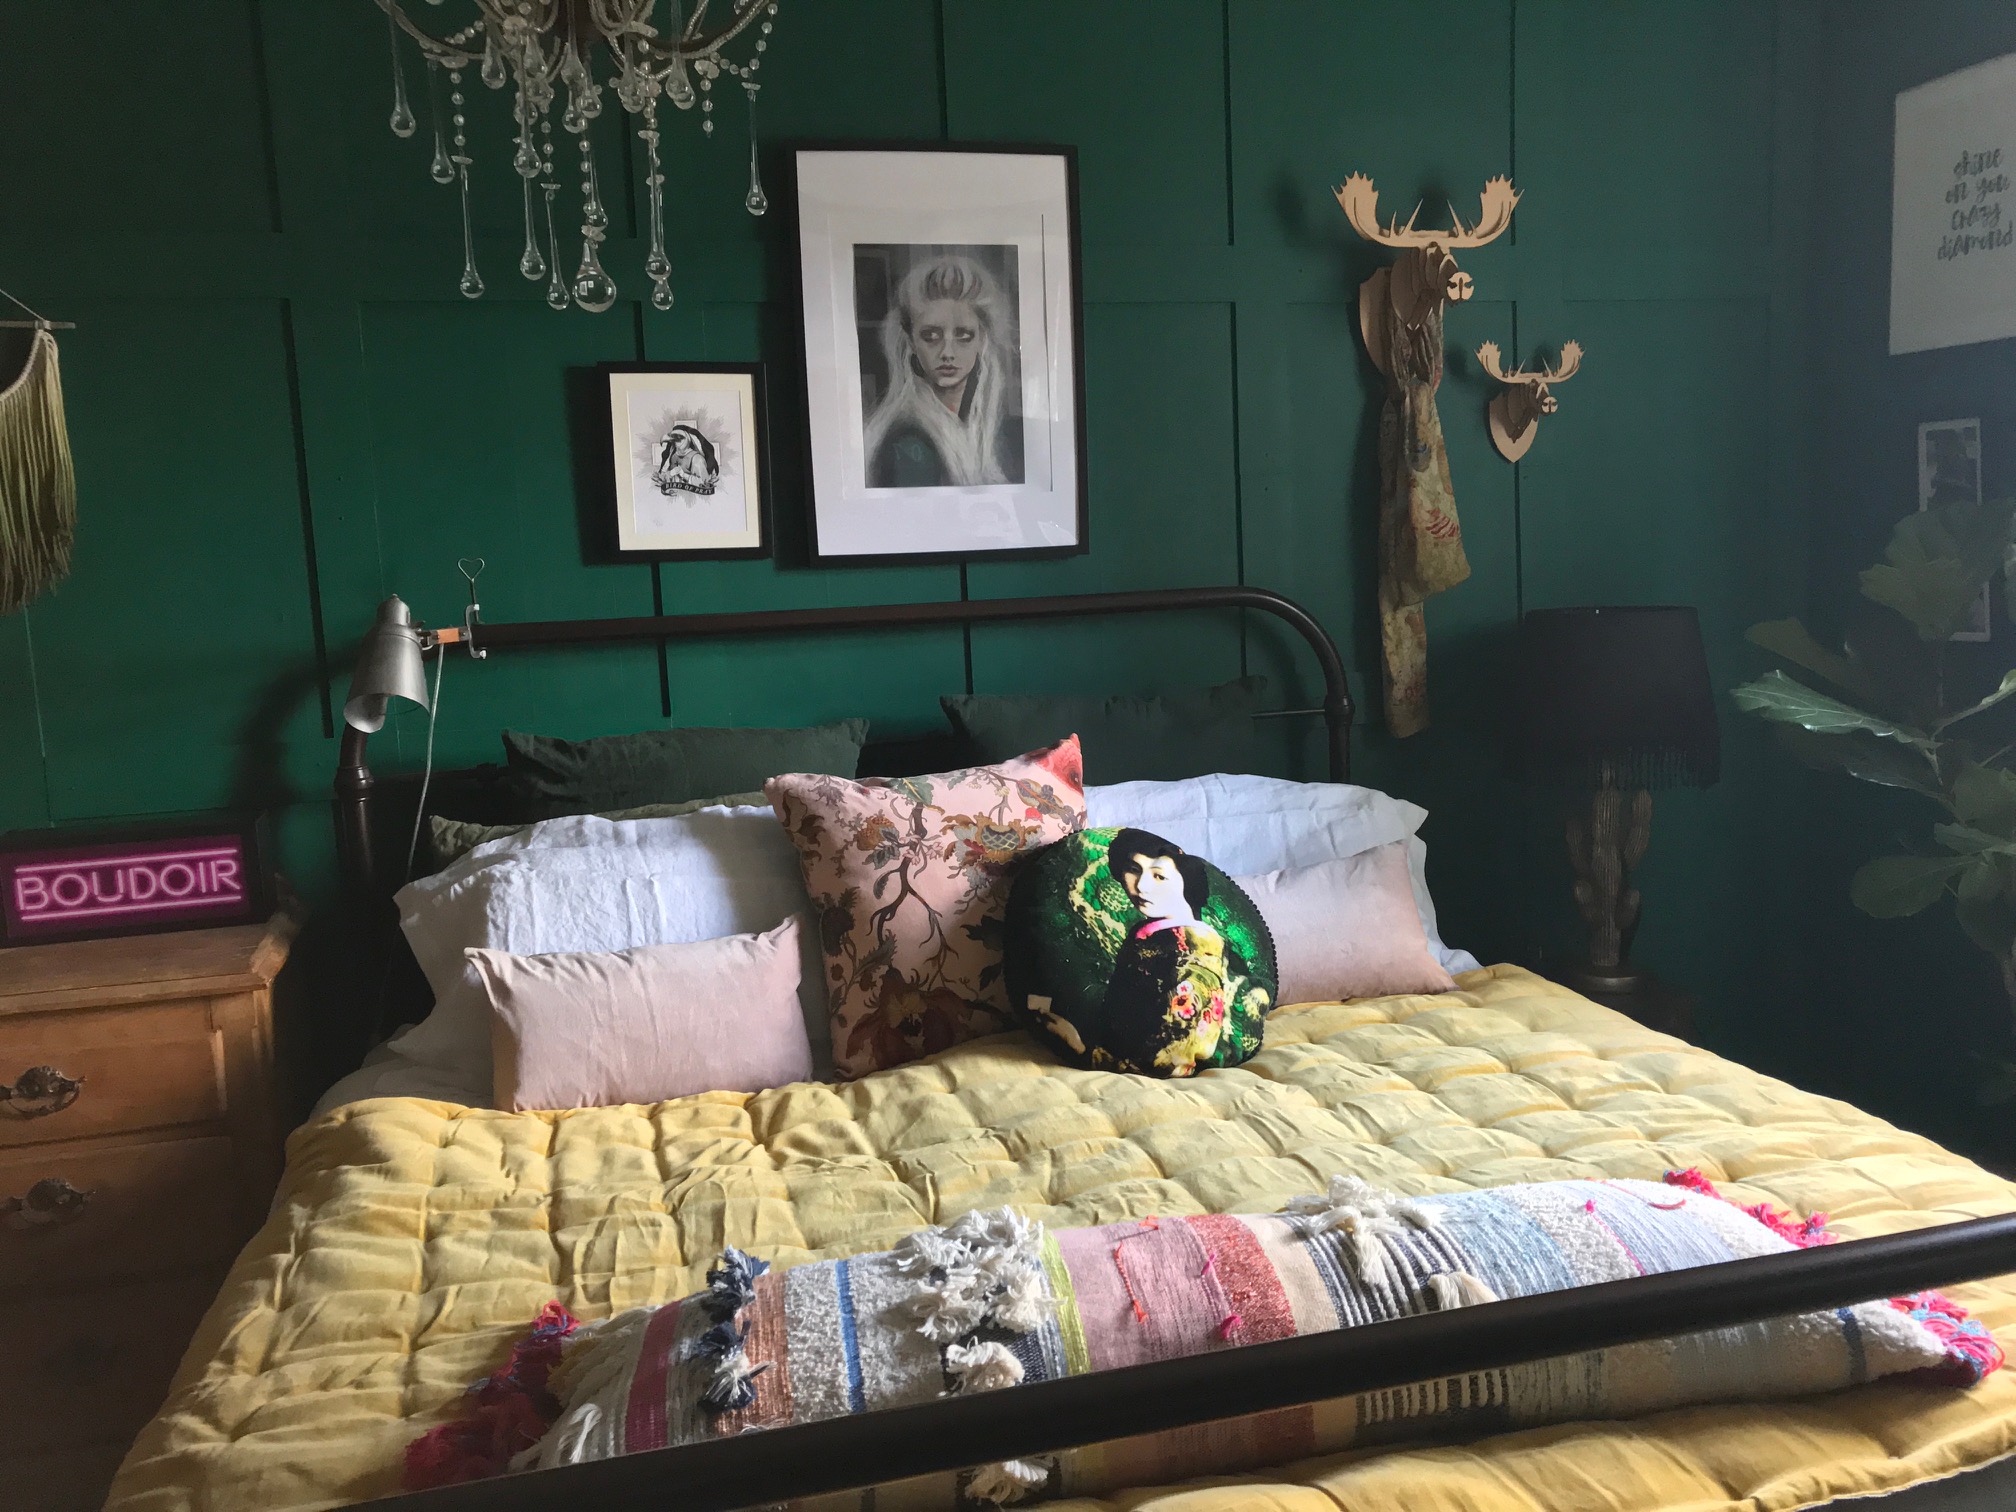
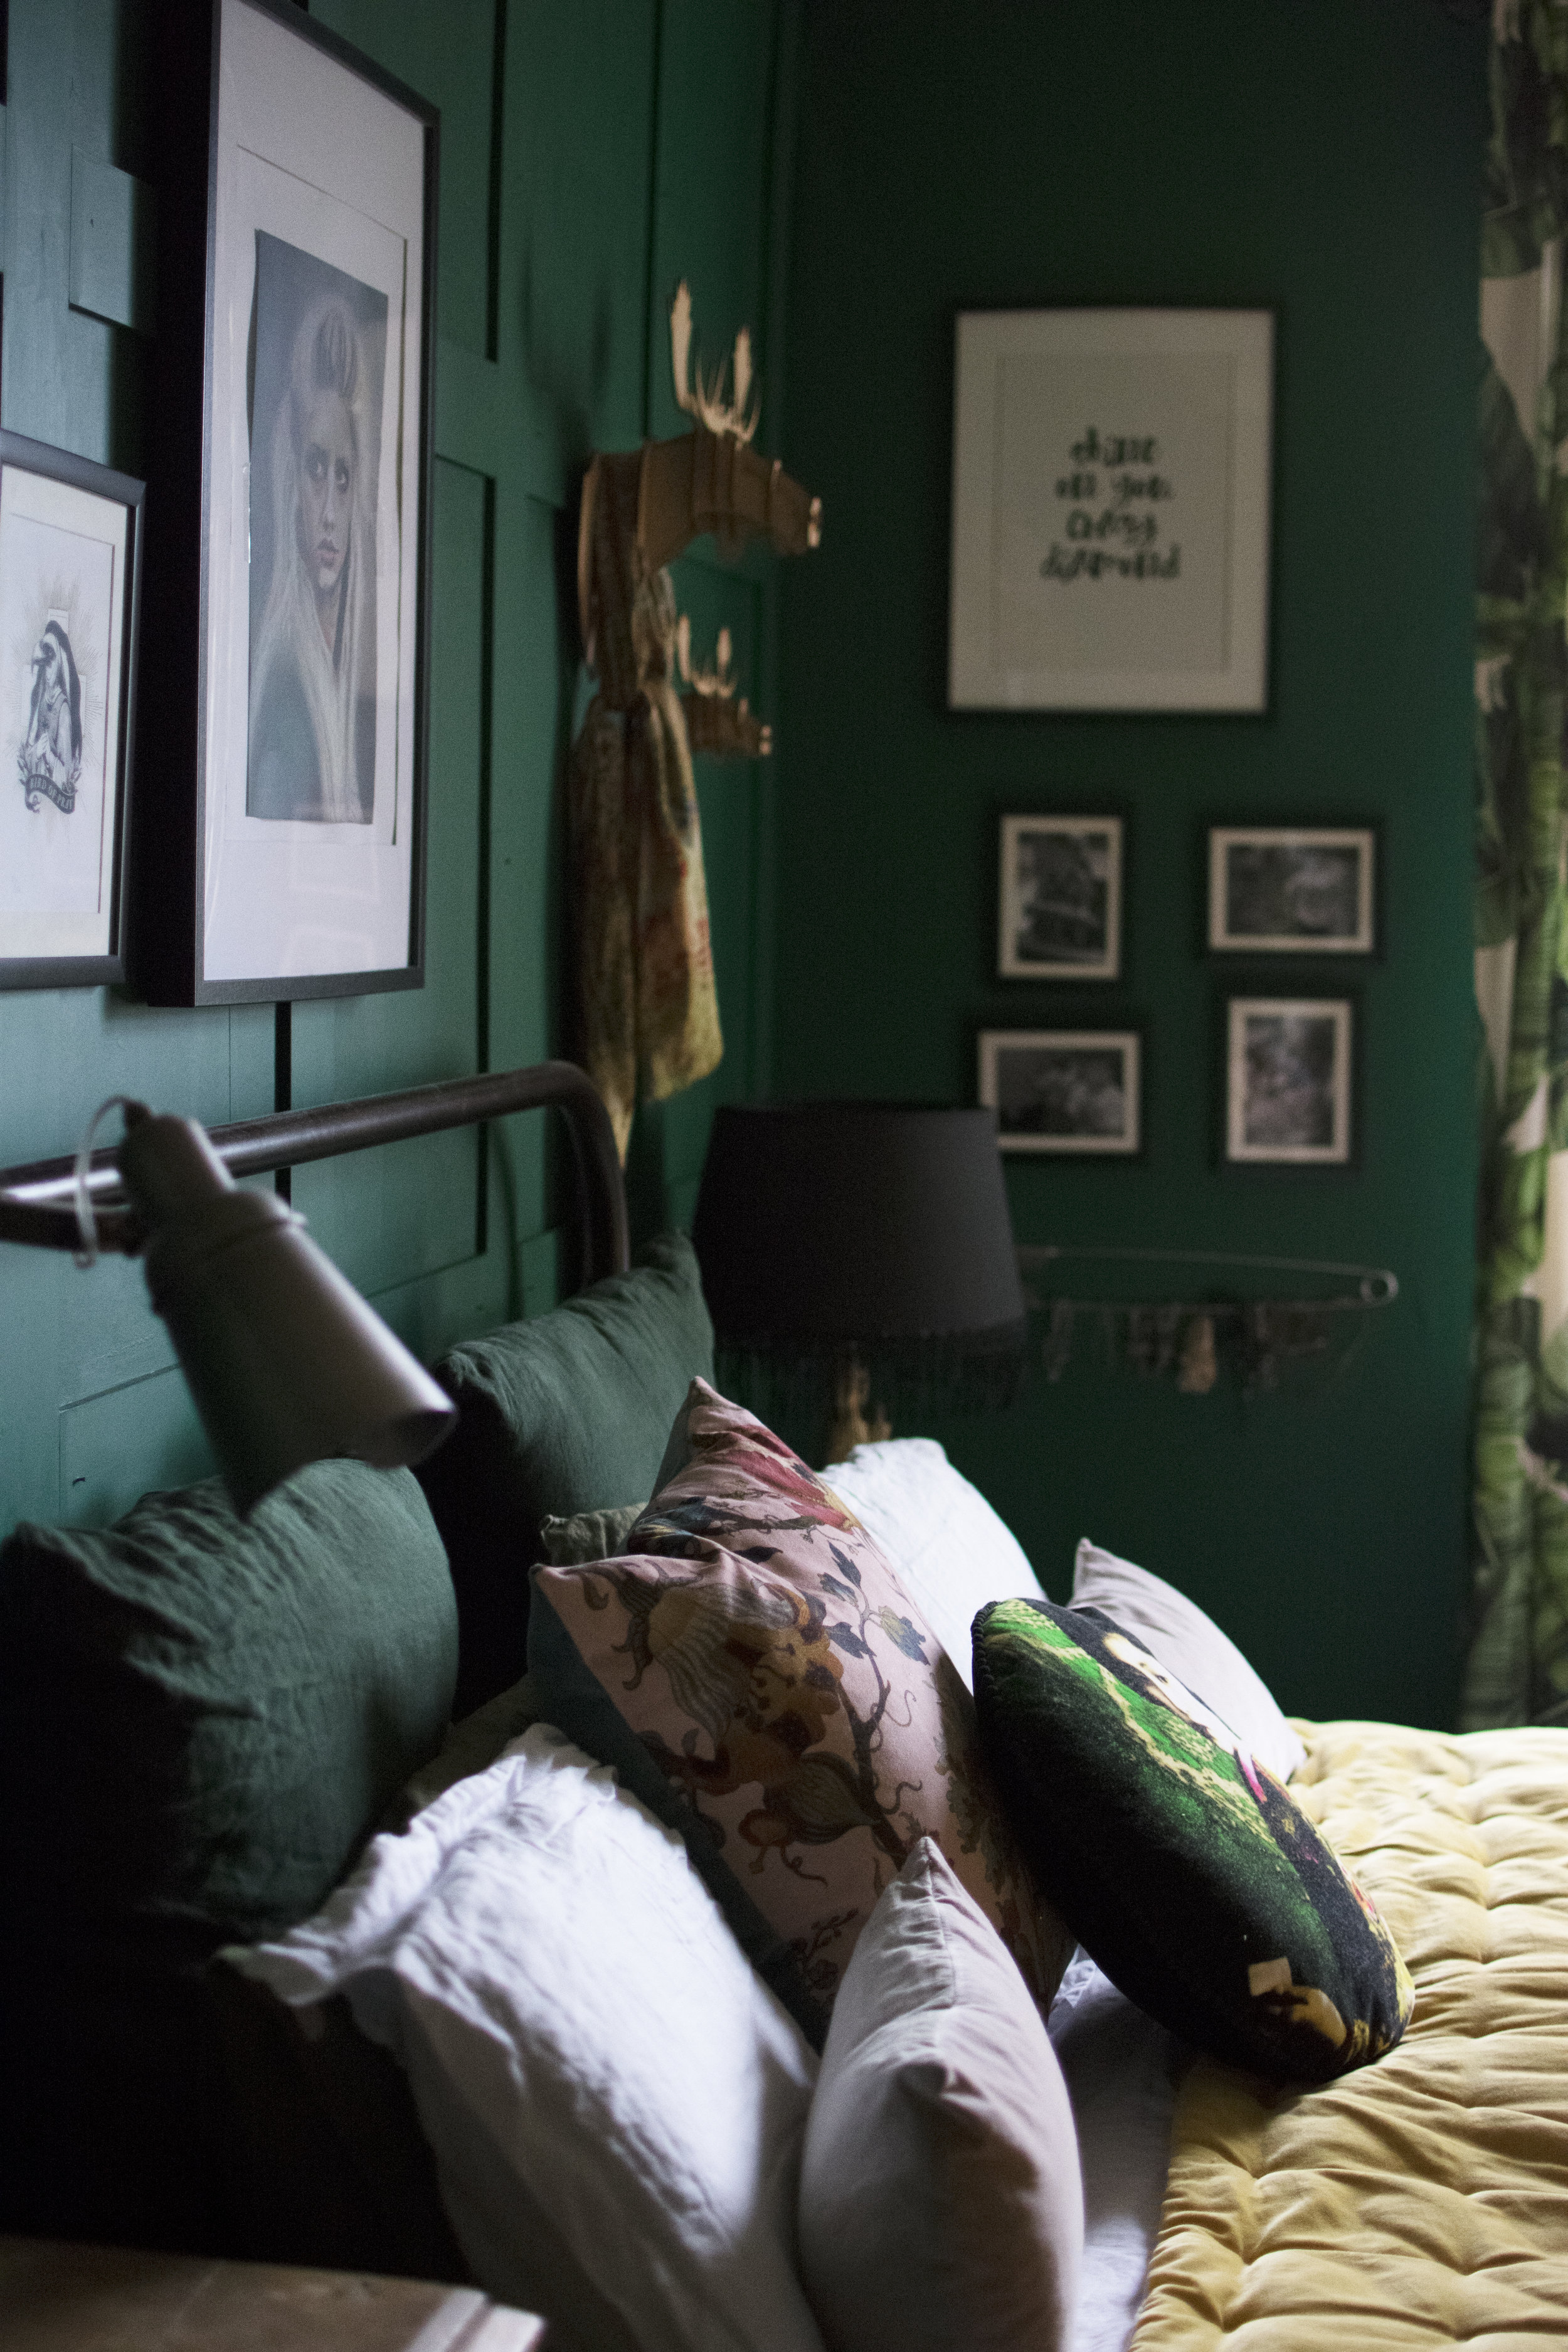
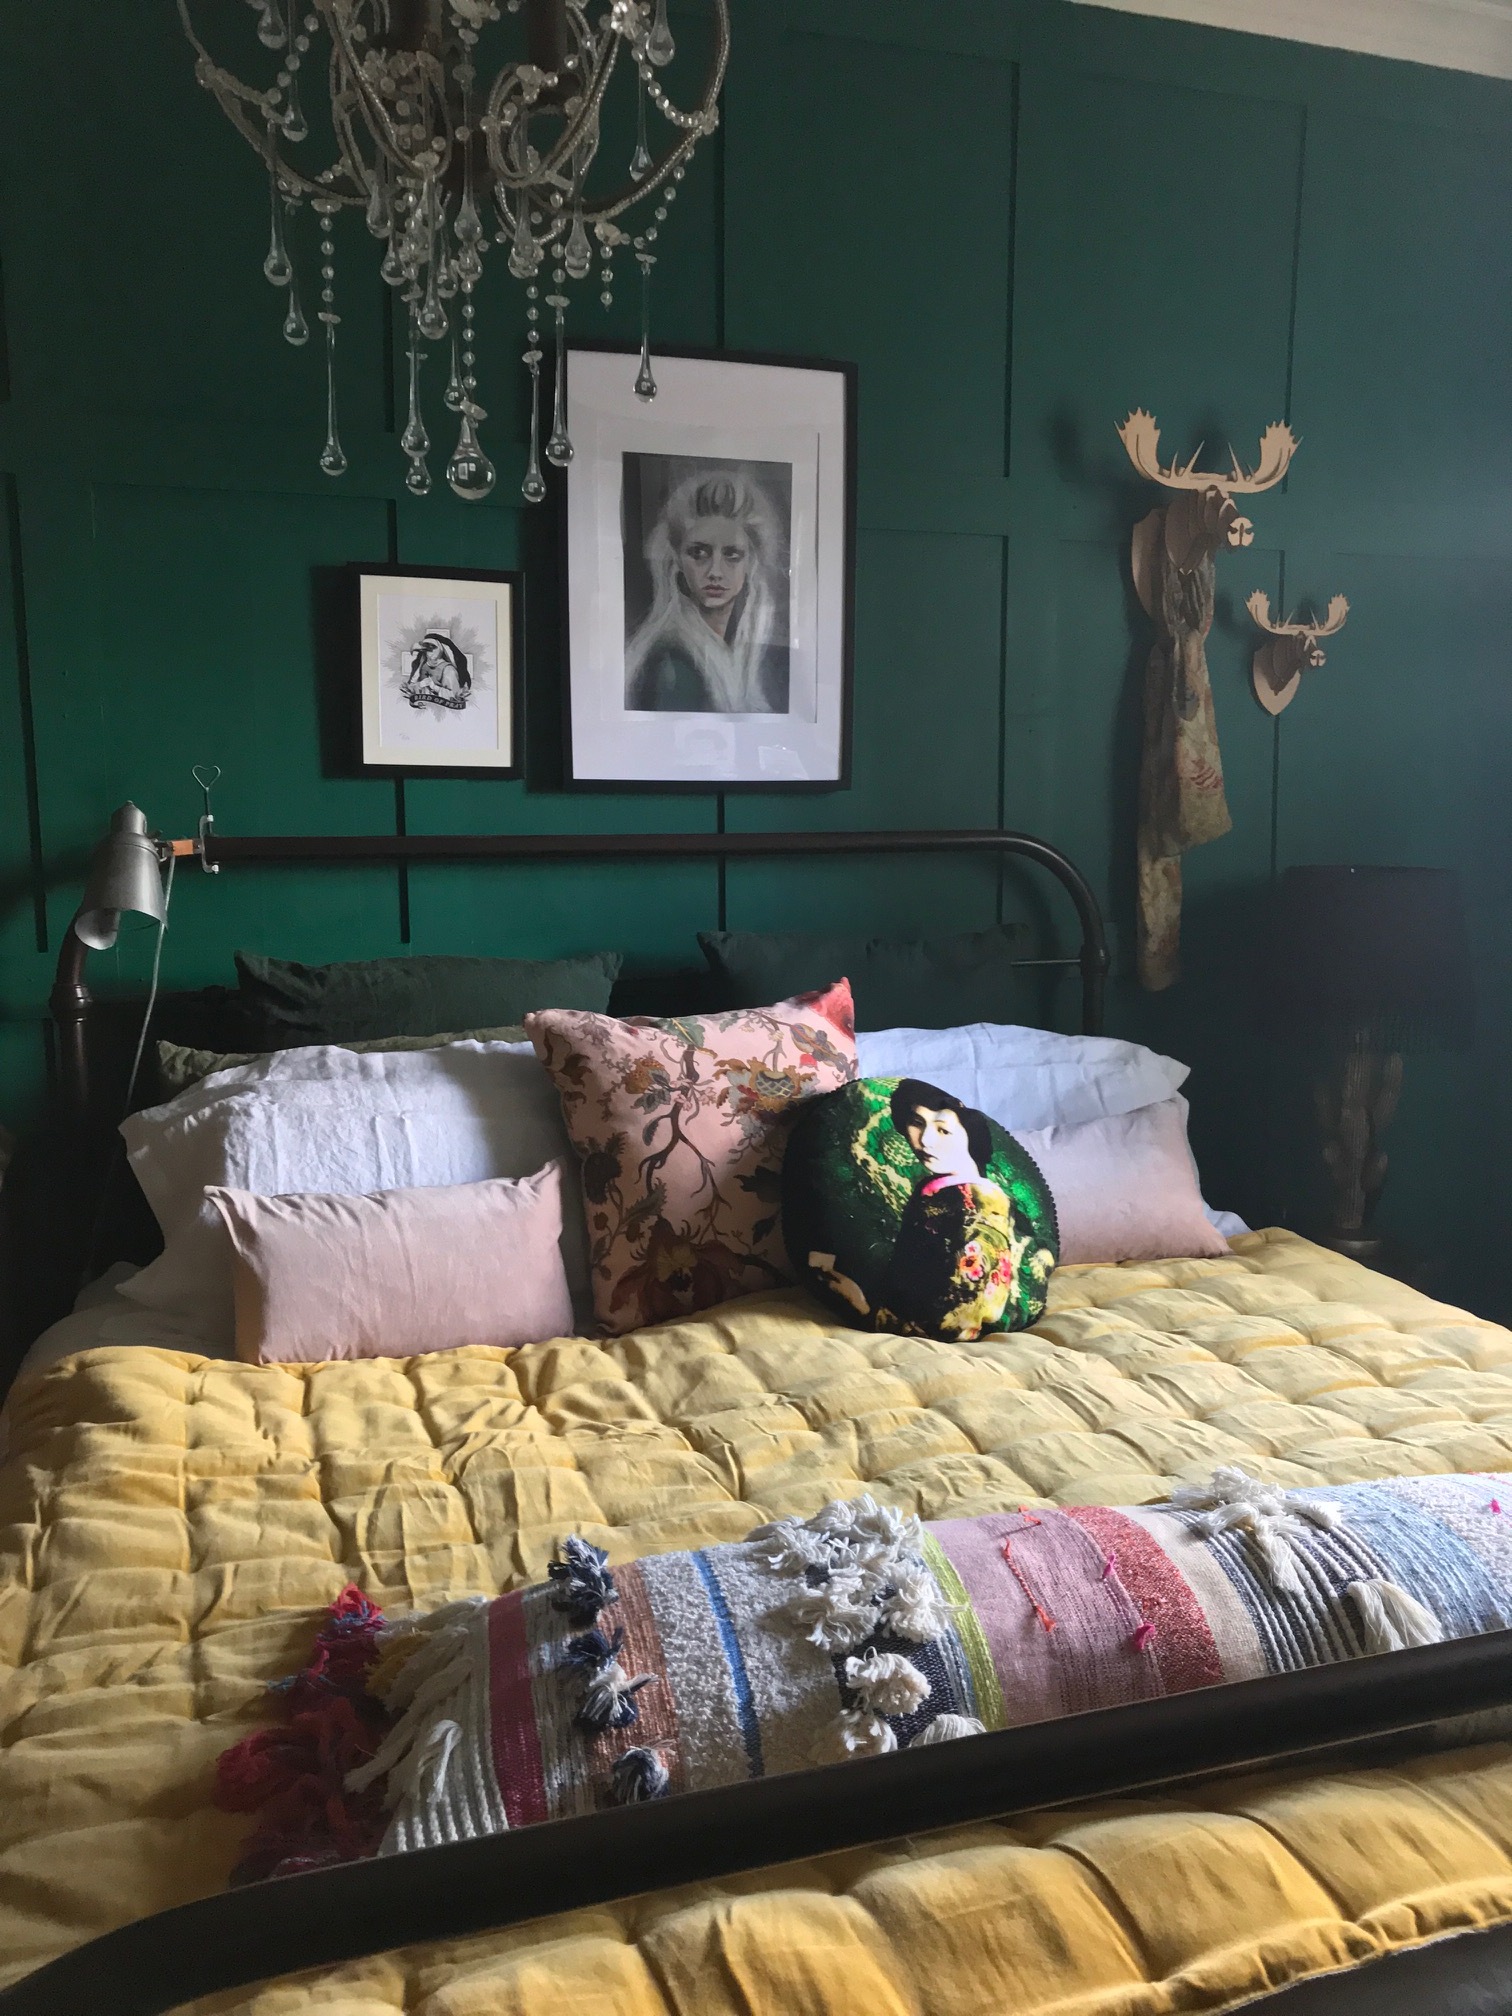
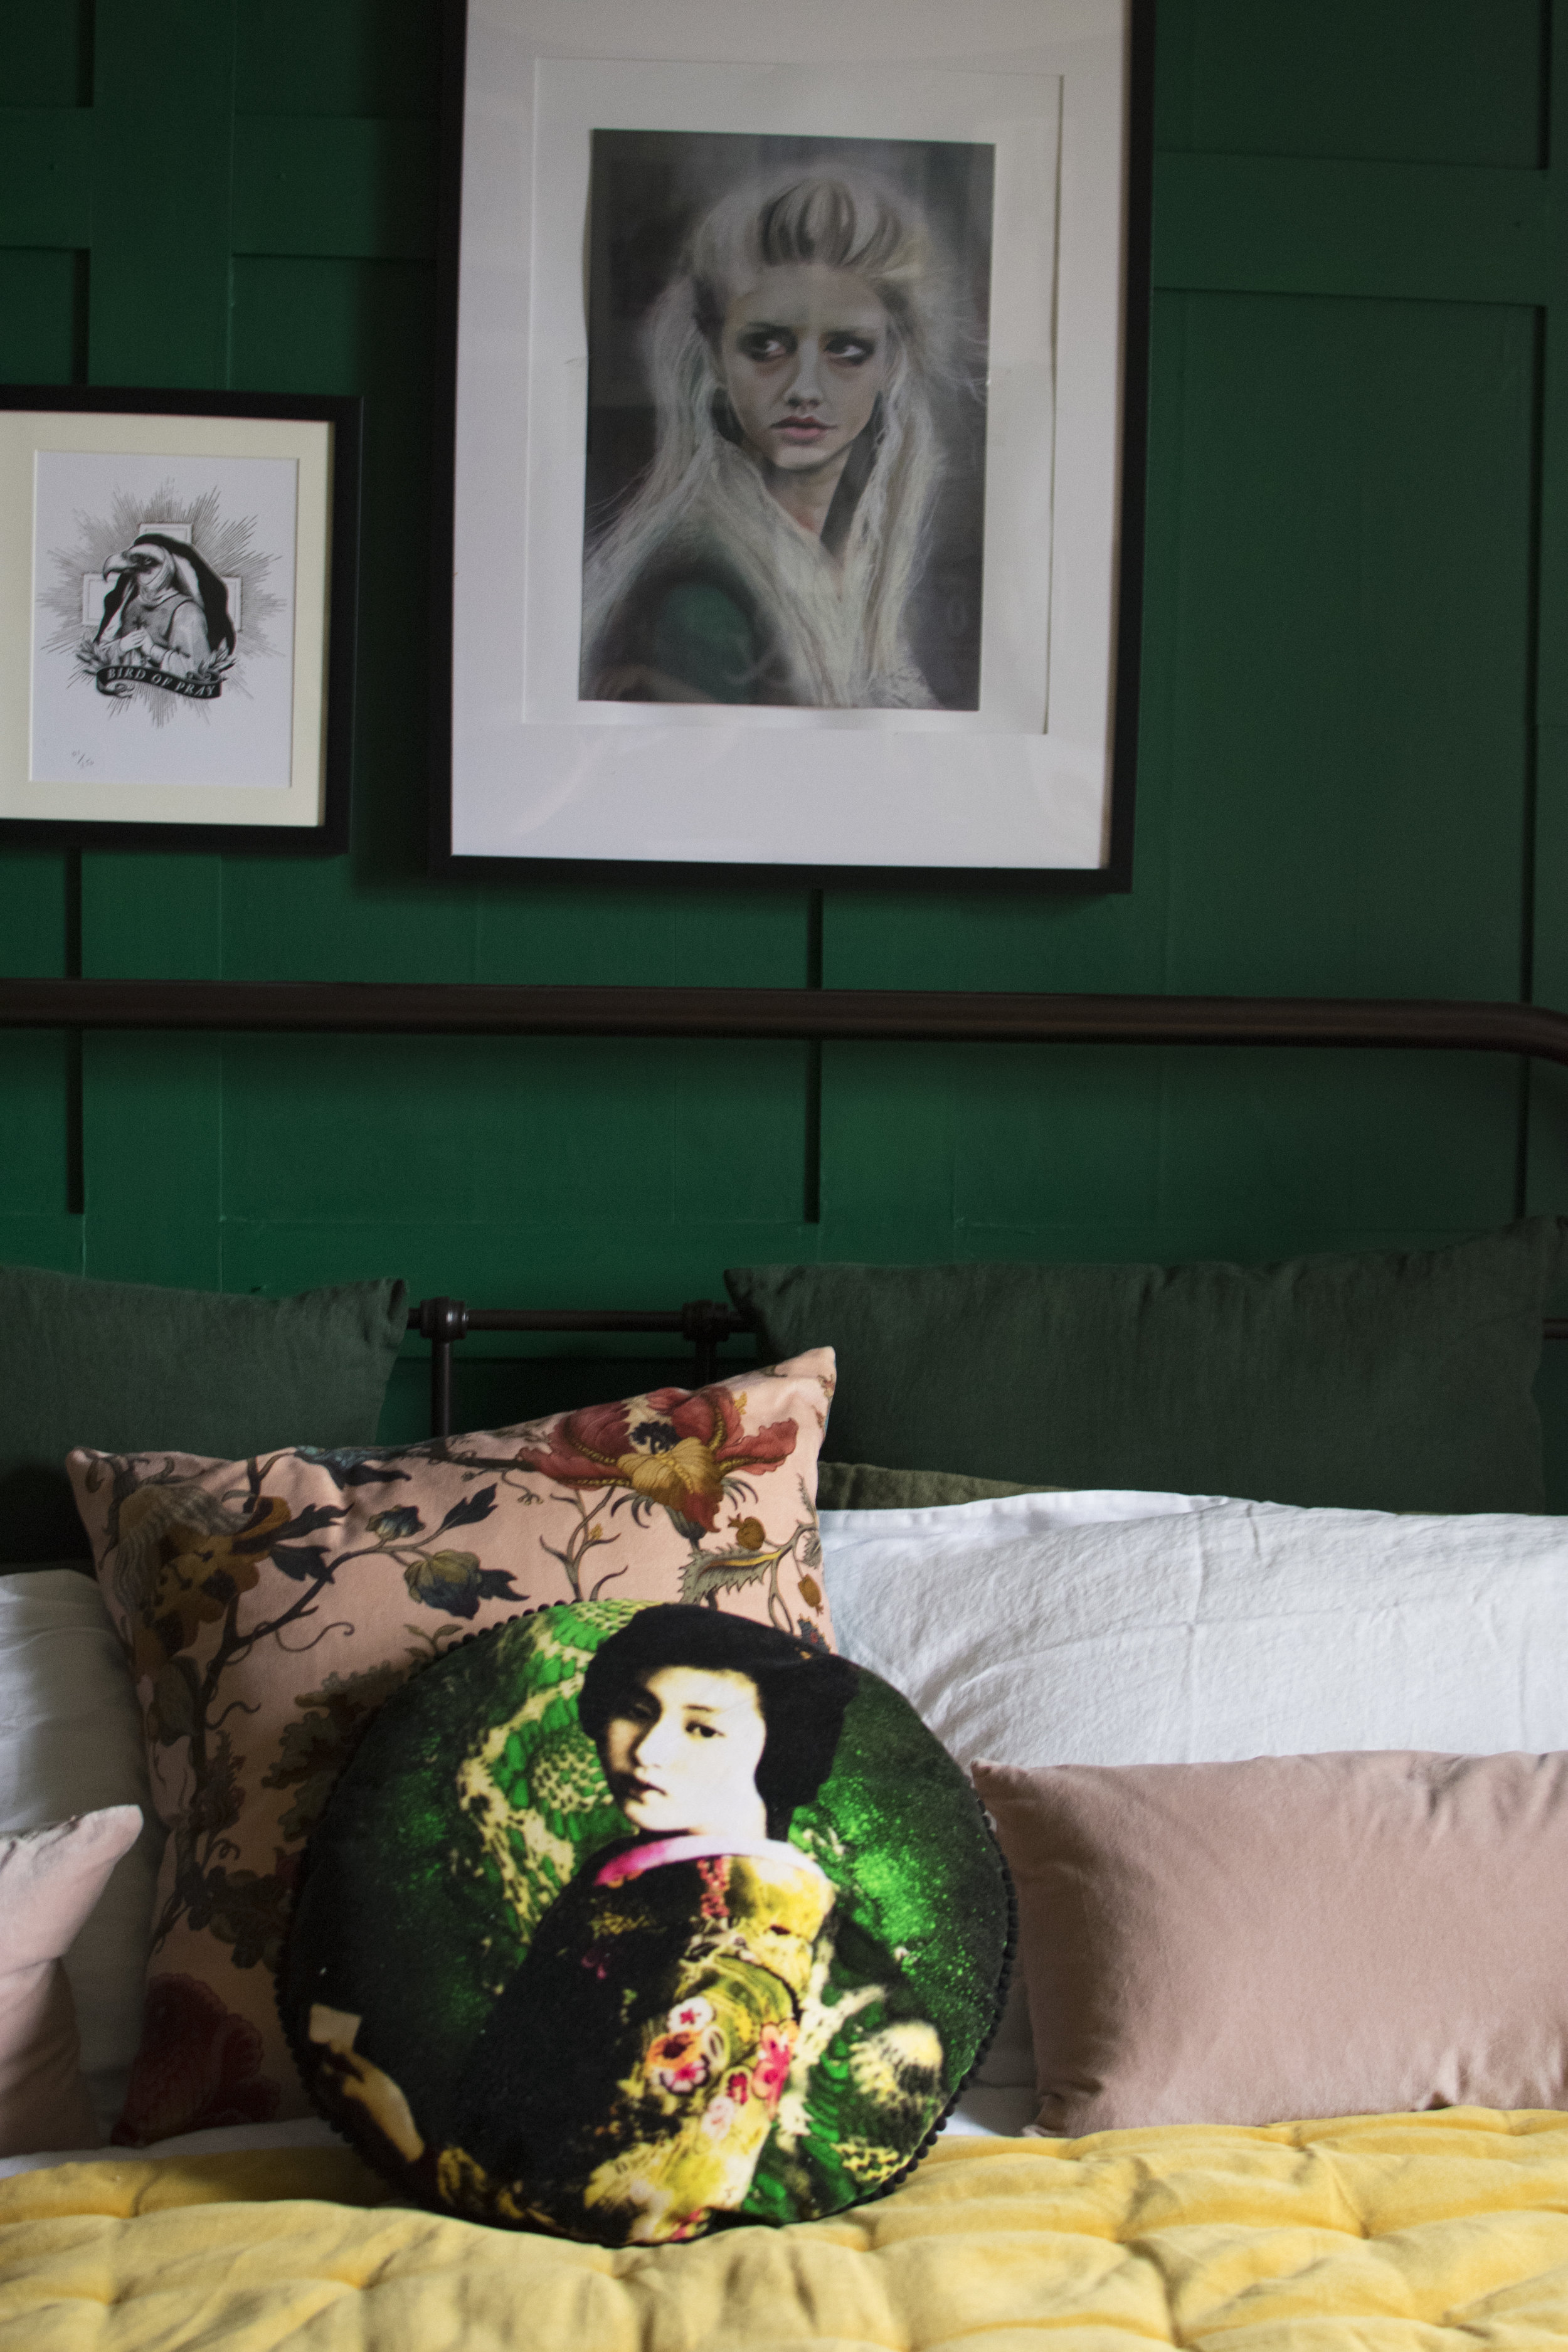
Above you can see the finished panelling with art from Lush Eclectic and my collaboration with Divine Savages and below how the panelling links into the non-panelled wall.

Next up was the really fun part; dressing the room. Christy Home sent me some bedding as a gift, Vintage Washed sheets, pillowcases and duvet in white, A Jaipur Tumeric Velvet Throw and two Jaipur cushions in pink. I already had the linen pillowcases in green from Merci, I bought the central cushion (below) made from House of Hackney Artemis velvet from The Dogs Ear and the Geisha cushion was from Wild Rice Designs.
The vintage industrial lamp is from Covet Ilkley.

A statement plant came next from Root House Plants. This is A Fiddle Fig Plant, reasonably easy to care for given my often absence from home and my husband's ability to water all the faux plants while neglecting all the real ones, I'm hoping this one will non-the-less survive.

A bolster cushion from Anthropologie , a Boudoir Light Box from Mint and May, a wall hanging from Teddy and Wool, a vintage chest of drawers and some faux flowers, add to the look. The Chandelier is from Ebay.

Below you can see the lovely throw from The Mizz Knits


So, there you go, a bedroom makeover in three days. I would recommend leaving longer if you are panelling a wall, it's quite a strenuous activity if you have a ceiling height like me, but the outcome is stunning and an absolute bargain to do.

The Girl with The Green Sofa


